Getting Started
Your Equipment Tracking System Quick Start Guide
You Received Your Invisi-Tag Starter Kit. Now What?
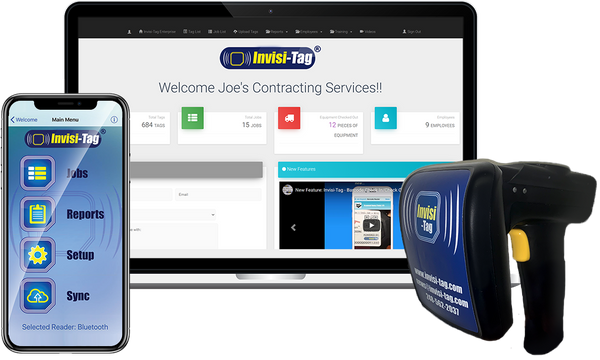
Congratulations on receiving your Invisi-Tag equipment tracking system starter kit! We’ve put together a helpful quick-start guide to get you started on the path to more efficient equipment management. Follow the steps below, watch our helpful videos, and if you’re still in need of assistance, please feel free to reach out to your Invisi-Tag customer support representative today!

Charging & Account Setup
Before you can begin using your Invisi-Tag equipment tracking system, it’s important that you first charge all of your RFID system equipment and devices. This includes charging your:
RFID reader
Tablet
The Starter Kit will have your own unique login credentials for the Invisi-Tag app as well as the Enterprise Cloud account. This will include your email address and a secure password. You also need to set up your account to access your enterprise cloud account website.
Setting Up The Invisi-Tag App
1) Download or upgrade to the latest version of the Invisi-Tag app. Simply search for “Invisi-Tag” in the Apple App Store or Google Play, and then click “Download” or “Upgrade”.
2) Open the Invisi-Tag app and input your unique login information provided to you. You will then press the “Begin” button.
Setting Up Your RFID System
3) It’s now time to set up your RFID reader so you can begin applying RFID tags and scanning your equipment. Select “Setup” and enter the universal password “8230”.
4) Select “Tag Assignment”, press the RFID reader’s trigger and the reader will connect in about 20-25 seconds. Confirm your reader “BT-IVTXXXX”, which will have its own unique identification number.
**Bulk upload of tags can be handled using our .csv import tool found in the Enterprise Cloud account, under "Upload Tags". https://enterprise.invisi-tag.com/upload-tags**
5) At the bottom of the screen, adjust your RFID reader’s read range to 20%. Then select an RFID tag and pull the reader’s trigger. Fill in the equipment information and accept. Place the RFID tag on the asset.
Location Assignment & Move Equipment
6) Create a location, select a location type, and complete optional notes.
7) Go to Main Menu. Select "Move Equipment", select a location, and scan your equipment to move equipment to that location. This will create that location's inventory list. For example, your location's name may be "Mrs. Jones' House". Scanning equipment to this location creates an equipment inventory list named "Mrs. Jones' House".
Verifying Equipment Inventory
8) To verify your equipment inventory, go to “Jobs”, select “Inventory”, select your location job name, connect reader, point the RFID reader toward the equipment, and pull the trigger.
Verified RFID tags are green, missing tags are red, and tags assigned to another location are yellow.
Watch More Invisi-Tag Video Guides
Please watch more video training and tutorials to learn more about the functions within the Invisi-Tag equipment tracking system and you’ll be up and running in no time!
Thank You For Your Order!
Our entire team is committed to achieving more than the highest level of customer satisfaction, and we request your feedback to help us continually improve. If you are not satisfied with our equipment tracking system, please give us the opportunity to make things right by contacting us. We promise to do the best we can to make you completely satisfied!
